Short Answer
Welcome to your playful exploration of The Foot Upside Down – Reversed Grounding, a whimsical twist on traditional grounding techniques that invites you to flip your perspective—literally. In this guide, you’ll discover how reversing your grounding poses can spark creativity, challenge your balance, and deepen your connection to the earth in unexpected ways. Whether you’re a seasoned yogi or a curious beginner, these poses will turn your practice upside down (sometimes quite literally) and leave you feeling refreshed, centered, and maybe even a little dizzy in the best possible way. Ready to stand on your head—or at least your hands? Let’s dive in!
What Is Reversed Grounding?
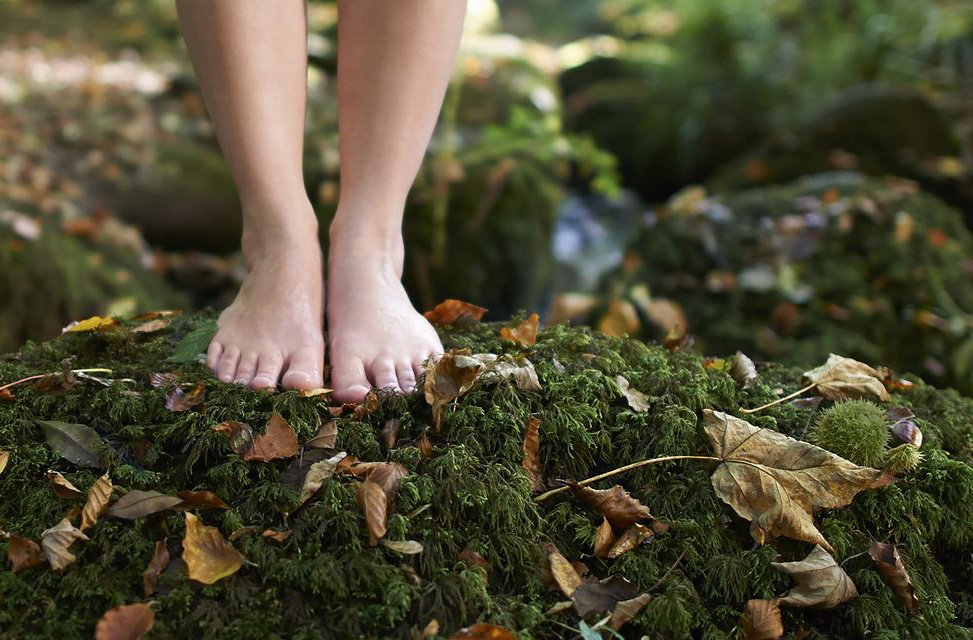
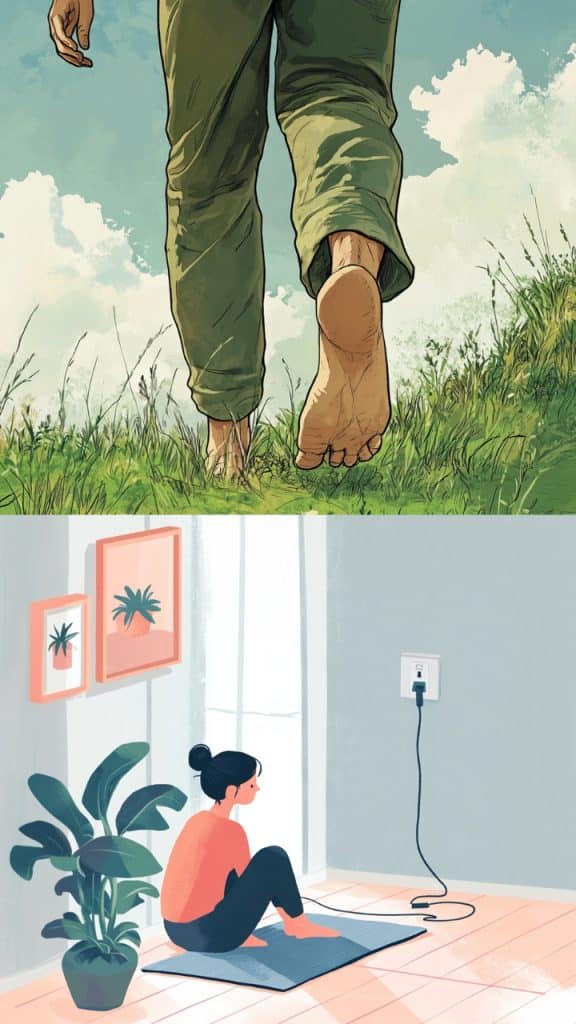
Grounding, or earthing, typically involves connecting with the earth’s energy through direct contact—think barefoot walks, seated meditation, or poses like Mountain Pose (Tadasana) where your feet are firmly planted. Reversed grounding flips this concept by inverting the body’s relationship to the ground, challenging your balance, strength, and spatial awareness. Instead of relying on the stability of your feet, you’ll explore poses where your hands, head, or even your hips become the primary points of contact. This playful inversion not only builds physical resilience but also cultivates mental adaptability, as you learn to trust your body in unfamiliar positions.
The beauty of reversed grounding lies in its duality: it’s both a physical practice and a metaphor for seeing the world from a new angle. By turning upside down, you’re not just inverting your body—you’re inverting your mindset, inviting curiosity and playfulness into your routine. Whether you’re aiming to improve circulation, strengthen your core, or simply have fun, these poses offer a fresh way to engage with your practice.
Why Try Reversed Grounding Poses?
Reversed grounding poses serve multiple purposes beyond the obvious physical benefits. Here’s why you might want to incorporate them into your routine:
- Enhanced Balance and Coordination: Inverting your body forces you to engage muscles you might otherwise neglect, improving proprioception (your body’s ability to sense movement and position).
- Increased Blood Flow: When your head is below your heart, blood circulation to the brain and upper body improves, which can boost energy and mental clarity.
- Core Strength: Many reversed poses require significant core engagement to maintain stability, making them excellent for toning your midsection.
- Stress Relief: The playful nature of these poses can shift your focus away from daily stressors, acting as a form of active meditation.
- Creative Spark: Physically inverting your perspective can metaphorically “flip” your mental blocks, fostering creativity and problem-solving skills.
Essential Reversed Grounding Poses to Try
Below are some foundational reversed grounding poses to get you started. Remember to warm up with gentle stretches or a few rounds of Cat-Cow Pose to prepare your spine and shoulders.
1. Downward-Facing Dog (Adho Mukha Svanasana)
Though Downward-Facing Dog is a staple in many yoga practices, it’s a fantastic starting point for reversed grounding. Your hands and feet are both grounded, creating a stable triangle shape. Focus on pressing your palms into the mat and lifting your hips toward the sky. Engage your core to prevent sagging in the lower back. Hold for 5–10 breaths, then gently lower back to all fours. This pose strengthens the arms, shoulders, and legs while stretching the hamstrings and spine.
2. Headstand (Sirsasana)

Headstand is the quintessential reversed grounding pose, where your head and forearms bear your weight. This inversion is known as the “king of poses” for its ability to calm the mind and invigorate the body. To enter the pose, start on your hands and knees, interlace your fingers, and place the crown of your head on the mat. Walk your feet toward your elbows, then lift your hips and straighten your legs. Keep your core engaged and avoid collapsing into your shoulders. Hold for up to 1 minute, then carefully lower back down. Beginners should practice against a wall for support.
3. Handstand (Adho Mukha Vrksasana)
Handstand is a more dynamic reversed grounding pose that challenges your strength, balance, and courage. Start in Downward-Facing Dog, then walk your feet toward your hands until your hips are stacked over your shoulders. Bend one knee and kick up with the other leg, using the wall for support if needed. Keep your gaze focused between your hands to maintain balance. Hold for 5–10 breaths, then lower one leg at a time. This pose builds upper body strength and confidence, making it a favorite among yogis and athletes alike.
4. Crow Pose (Bakasana)
Crow Pose is a playful arm balance that teaches you to trust your body’s ability to support itself. Start in a squat with your hands planted firmly on the mat, shoulder-width apart. Place your knees on the backs of your upper arms, then shift your weight forward until your feet lift off the ground. Keep your core engaged and your gaze slightly forward to maintain balance. Hold for 3–5 breaths, then lower back down. This pose strengthens the arms, wrists, and core while improving focus and coordination.
A Playful Challenge: The 7-Day Reversed Grounding Challenge
Ready to take your practice to the next level? Try this 7-day challenge to explore reversed grounding in a structured way. Each day, focus on a different pose or variation, and notice how your body and mind respond. Here’s your roadmap:
- Day 1: Downward-Facing Dog – Hold for 1 minute, 3 rounds.
- Day 2: Headstand Prep – Practice against a wall, holding for 10–20 seconds, 3 rounds.
- Day 3: Handstand Prep – Kick up to the wall, holding for 5–10 seconds, 3 rounds.
- Day 4: Crow Pose – Hold for 3 breaths, 3 rounds.
- Day 5: Dolphin Pose – Hold for 30 seconds, 3 rounds.
- Day 6: Headstand – Hold for 30 seconds, 3 rounds.
- Day 7: Handstand – Hold for 10 seconds, 3 rounds.
Track your progress in a journal or notebook, noting any challenges or breakthroughs. Don’t forget to celebrate small victories—whether it’s holding a pose a second longer or simply showing up for your practice. The goal isn’t perfection; it’s exploration and growth.
Safety Tips for Reversed Grounding
While reversed grounding poses offer incredible benefits, they’re not without risks. Keep these safety tips in mind to practice mindfully:
- Warm Up First: Always prepare your body with gentle stretches or a few rounds of Sun Salutations to loosen tight muscles.
- Use Props: Blocks, straps, and walls can provide support and stability, especially for beginners.
- Listen to Your Body: If a pose feels painful or causes strain, ease out of it. Respect your limits and avoid pushing through discomfort.
- Avoid Inversions If: You have high blood pressure, glaucoma, neck injuries, or are pregnant (consult a healthcare provider first).
- Breathe Deeply: Maintain steady, even breathing throughout your practice to stay calm and focused.
Conclusion
Reversed grounding is more than just a physical practice—it’s an invitation to see the world (and yourself) from a new perspective. By flipping your poses upside down, you’re not only strengthening your body but also cultivating resilience, creativity, and a playful spirit. Whether you’re holding a Headstand for the first time or simply enjoying the stretch of Downward-Facing Dog, remember that the journey is just as important as the destination. So, roll out your mat, take a deep breath, and let the magic of reversed grounding transform your practice—and maybe even your outlook on life. Happy inverting!
FAQ
What is reversed grounding?
Reversed grounding is a yoga practice that involves inverting the body to challenge balance and enhance creativity.
What are the benefits of reversed grounding poses?
They improve balance, increase blood flow, strengthen the core, provide stress relief, and foster creativity.
Leave a Reply